Have you ever wondered why so many people believe rotisserie-style chicken must come from a store—even though it’s often cheaper and just as juicy at home? The truth is, most dry chicken isn’t caused by “bad meat”… it’s caused by bad timing, weak seasoning, and uneven heat. Once you understand the method, homemade rotisserie chicken becomes one of the easiest meal-prep wins you can master.
This guide breaks down everything step-by-step: the best seasoning approach, how to keep the breast tender, how to get that golden skin, and how to store leftovers without turning them rubbery. If you want that classic rotisserie flavor with a simple home setup, you’re in the right place.
NLP / Semantic Keywords used throughout: whole chicken, dry rub, paprika, garlic powder, kosher salt, black pepper, olive oil, trussing, roasting pan, meat thermometer, crispy skin, juicy breast, rendered fat, pan drippings, resting time.
Ingredients List
A good rotisserie-style bird needs simple ingredients, but the balance matters. This blend gives you savory, smoky, slightly herby flavor with a golden finish.
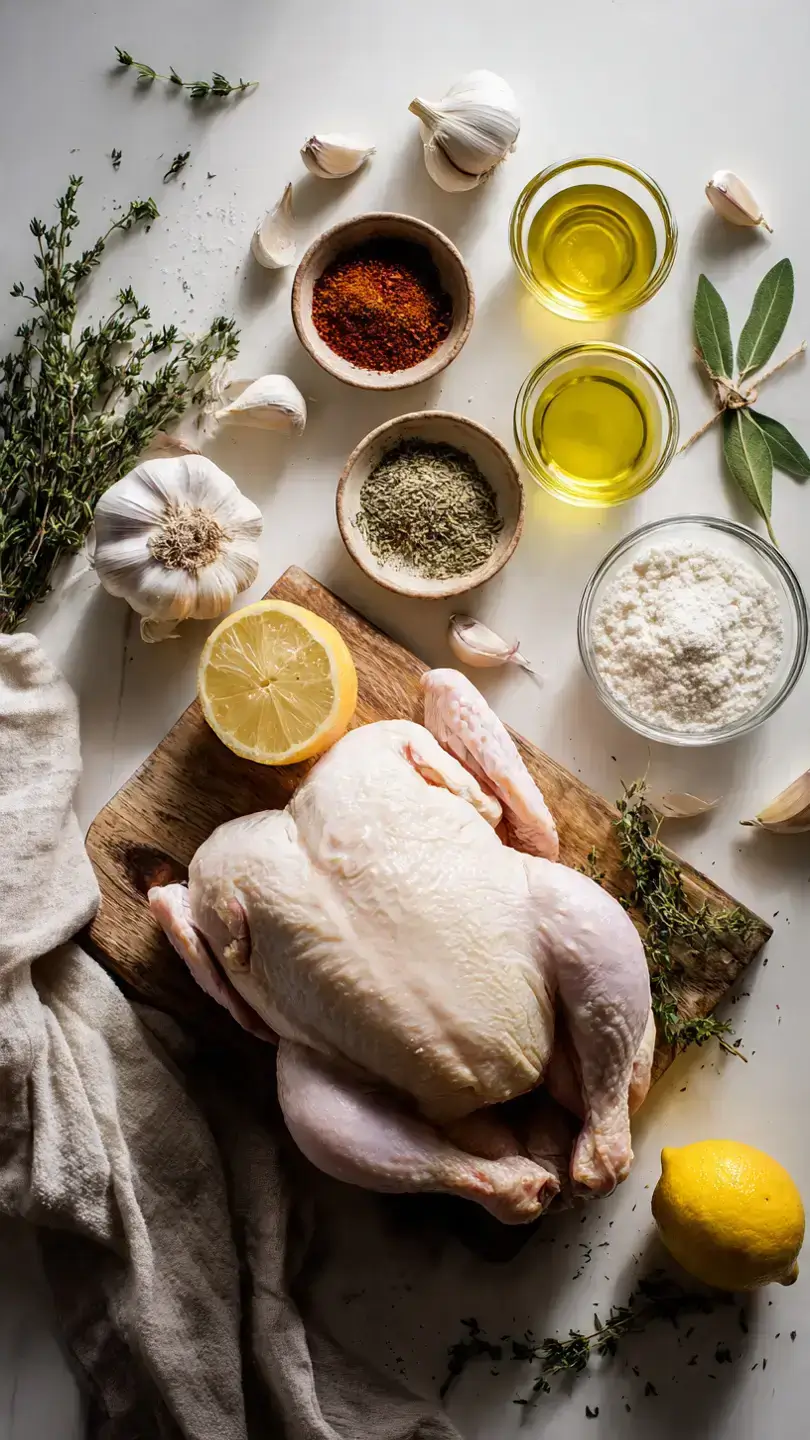
Ingredients
- 1 whole chicken (about 4–5 lbs)
- 2 tbsp olive oil (or melted butter for richer flavor)
- 1 ½ tsp kosher salt
- 1 tsp black pepper
- 2 tsp paprika (smoky paprika adds deeper color)
- 1 tsp garlic powder
- 1 tsp onion powder
- ½ tsp dried thyme (or Italian seasoning)
- ½ tsp dried oregano
- ½ tsp baking powder (optional but great for crispier skin)
- 1 lemon, halved (optional for fresh aroma)
- 3–4 garlic cloves (optional for extra savory notes)
Smart Substitutions (Diet-Friendly)
- Low sodium: reduce salt to 1 tsp and add extra herbs + lemon zest
- Dairy-free: use olive oil instead of butter
- Spicy version: add ½ tsp cayenne or chili flakes
- No paprika: swap with smoked chili powder (milder)
- No baking powder: skip it—the chicken still browns beautifully
Sensory goal: crispy, golden skin with juicy, tender meat that slices cleanly without drying out.
Timing
- Prep Time: 15 minutes
- Cook Time: 70–85 minutes
- Total Time: 85–100 minutes
That’s about 20% faster than typical roast chicken recipes that run 2+ hours, especially when you use a hot start and finish with a controlled roast.
Step-by-Step Instructions
Step 1: Dry the chicken like you mean it
Pat the chicken dry with paper towels—everywhere, including under the wings.
Tip: Dry skin = crispier skin. Moisture is the enemy of browning.
Step 2: Make the seasoning rub
In a small bowl, mix:
- salt, pepper, paprika, garlic powder, onion powder, thyme, oregano
Add baking powder if using.
Step 3: Coat for maximum flavor
Rub olive oil (or melted butter) all over the chicken, then apply the seasoning generously.
Best move: Season the cavity lightly too for flavor from the inside out.
Step 4: Optional stuffing for aroma
Stuff the cavity with:
- lemon halves
- garlic cloves
This won’t make the chicken “lemony,” but it adds a clean, roasted aroma.
Step 5: Truss for even cooking (highly recommended)
Tie the legs together using kitchen twine.
Why it matters: Trussing helps the chicken cook evenly and prevents the breast from drying while the legs finish.
Step 6: Set up your roasting method
Place the chicken on:
- a rack inside a roasting pan or
- a wire rack on a sheet pan
No rack? Use thick onion slices as a natural “stand” to lift it off the pan.
Step 7: Roast hot first, then finish steady
- Preheat oven to 425°F (220°C)
- Roast for 20 minutes
- Reduce heat to 375°F (190°C) and cook 50–65 minutes
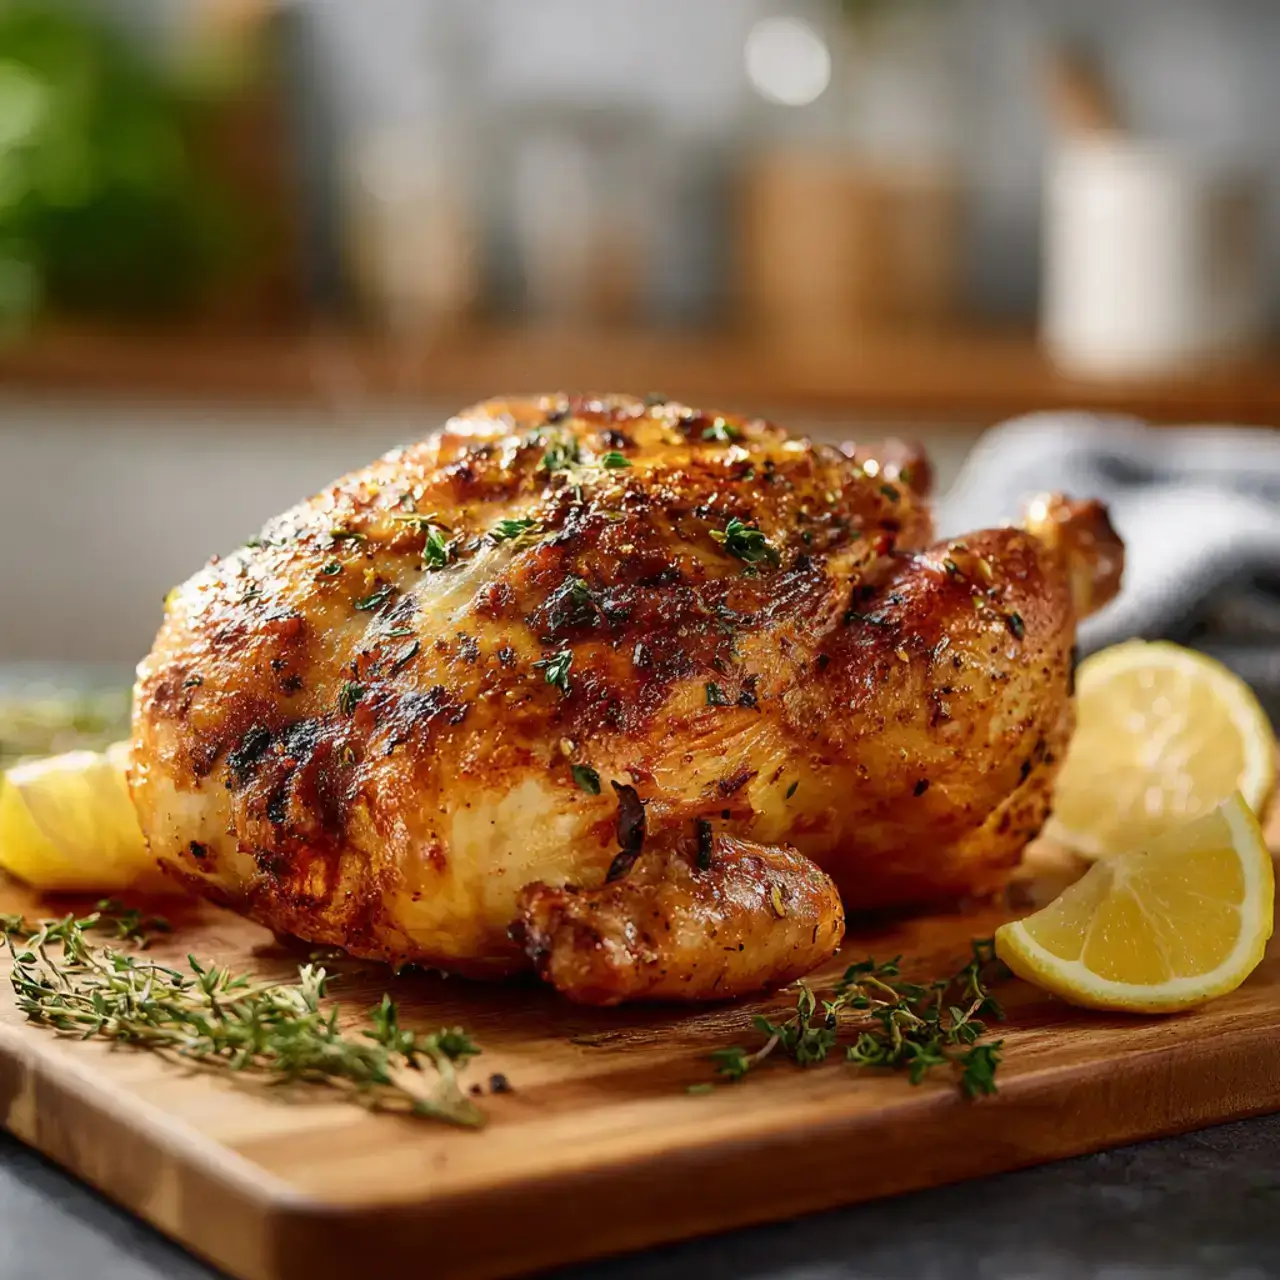
Texture sign: Skin should look deeply golden with visible rendered fat.
Step 8: Check temperature the right way
Use a meat thermometer:
- Breast: 165°F (74°C)
- Thigh: 175–185°F (79–85°C) is even better for tenderness
Beginner tip: Insert thermometer into the thickest part without touching bone.
Step 9: Rest before slicing (do not skip)
Rest the chicken 10–15 minutes.
Why: Resting time redistributes juices so you don’t lose them all on the cutting board.
Step 10: Carve and serve
Slice off legs and thighs first, then breast meat.
Bonus flavor: Spoon a little pan drippings over the slices for that true rotisserie-style finish.
Nutritional Information (Estimated)
Per serving (based on 6 servings, skin-on):
- Calories: ~320
- Protein: ~34g
- Carbs: ~1g
- Fat: ~19g
- Fiber: ~0g
- Sugar: ~0g
- Sodium: ~620mg
Estimates vary by chicken size and how much skin you eat.
Healthier Alternatives
Want the same flavor with a lighter approach? Try these upgrades without sacrificing taste:
- Lower-fat version: remove skin after cooking (keeps meat juicy)
- High-protein meal prep: serve with Greek yogurt ranch-style sauce
- Low-carb pairing: serve with cauliflower mash + roasted zucchini
- Air fryer option: cut into quarters and air fry at 375°F (190°C) until done
- Gluten-free: naturally gluten-free—just check spice labels
- Reduced sodium: use citrus + herbs + garlic to boost flavor without extra salt
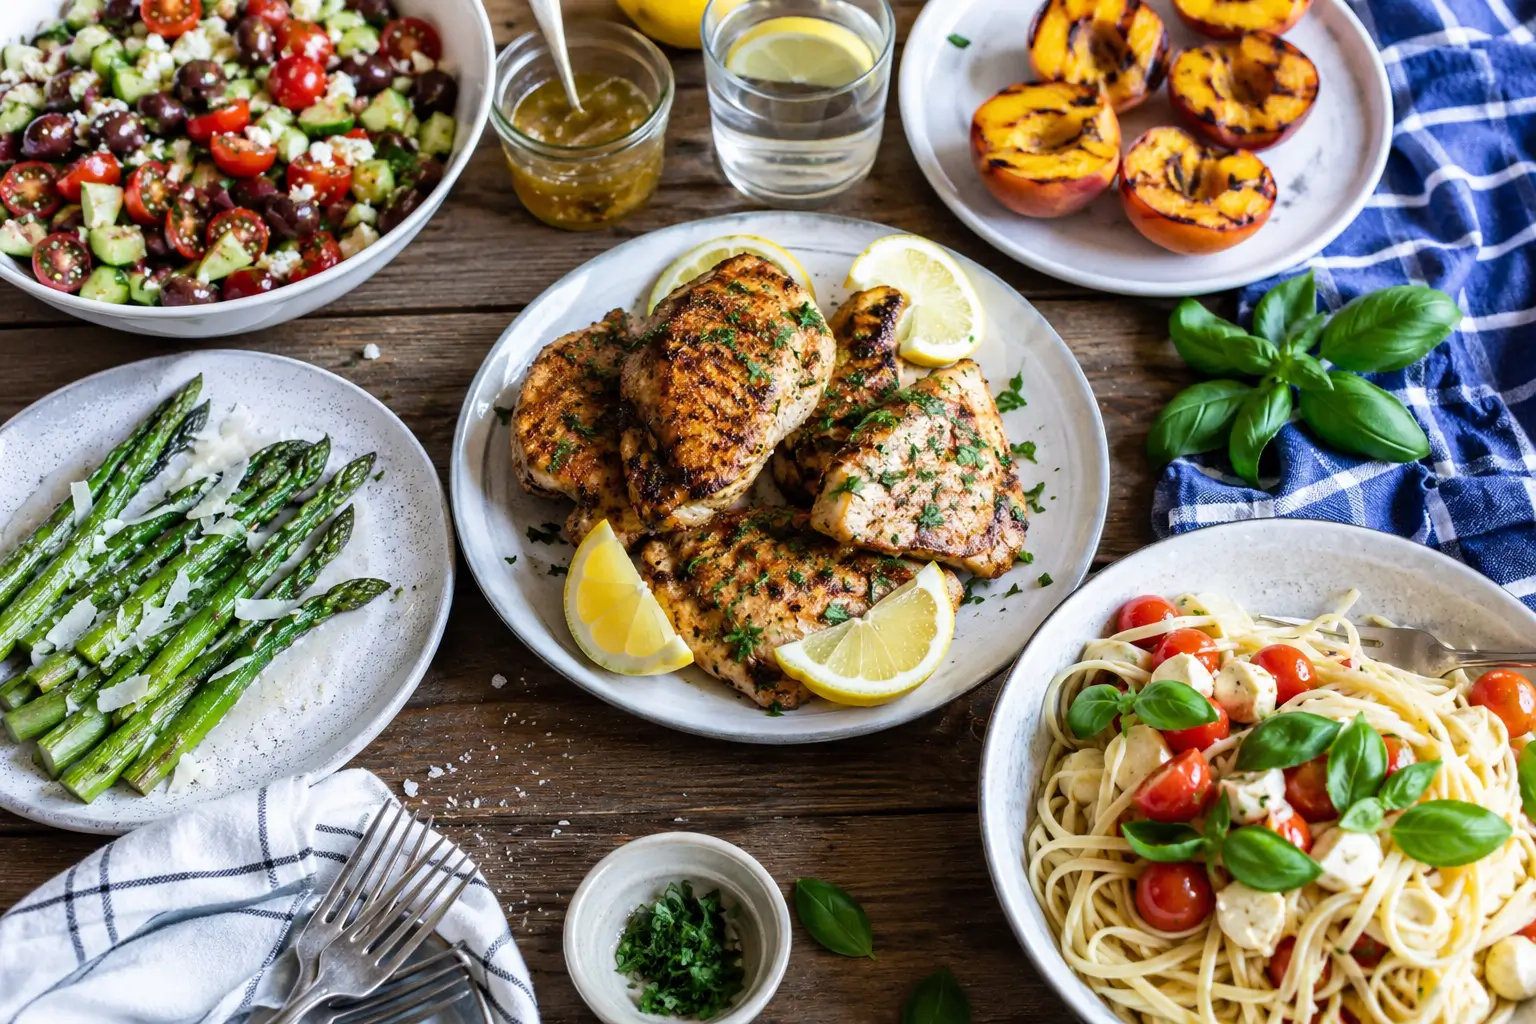
Serving Suggestions
Turn one chicken into multiple meals without getting bored:
- Serve with garlic roasted potatoes and a green salad
- Pair with steamed rice and drizzle pan drippings on top
- Make chicken wraps with lettuce, tomatoes, and creamy sauce
- Add to chicken noodle soup for instant comfort food
- Slice over Caesar salad for a protein-packed dinner
- Serve with grilled veggies and lemon wedges for clean flavor
- Plate it “restaurant style” with fresh herbs + cracked pepper on top
Sauce ideas:
- chimichurri
- honey mustard
- garlic yogurt sauce
- BBQ sauce
- lemon-herb butter
Common Mistakes to Avoid
- Skipping the thermometer
Fix: Cook to temp, not time (ovens vary).
Why it happens: People trust the clock too much. - Not drying the skin first
Fix: Pat dry thoroughly before oil + seasoning.
Why it happens: Moisture blocks crisping. - Over-seasoning with only salt
Fix: Use a balanced dry rub with aromatics.
Why it happens: Salt alone tastes flat. - Cooking too low the entire time
Fix: Start hot (425°F) then finish steady (375°F).
Why it happens: Low heat won’t brown well. - Cutting immediately after roasting
Fix: Rest 10–15 minutes.
Why it happens: Hunger wins. - Not trussing the bird
Fix: Tie legs together for even cooking.
Why it happens: It seems optional—but helps a lot. - Overcrowding the pan
Fix: Give airflow space around the chicken.
Why it happens: Crowding causes steaming.
Storing Tips
Fridge Storage
- Store in an airtight container for up to 4 days
- Keep some pan juices with the meat to prevent drying
Meal-prep tip: Slice breast meat, shred dark meat, and store separately.
Freezer Storage
- Freeze in portions for up to 3 months
- Wrap tightly (plastic wrap + freezer bag works best)
Best Reheating (Keeps Texture)
- Oven: 325°F (165°C), covered, 10–15 minutes
- Skillet: low heat + splash of broth, cover 5–8 minutes
- Microwave: short bursts + cover with a damp paper towel
Pro tip: Reheat with a spoon of broth or drippings for a juicy finish.
Conclusion (Exactly 50 Words)
This easy homemade rotisserie chicken delivers golden, crispy skin and juicy, well-seasoned meat with minimal effort. Follow the simple rub, roast-temperature method, and resting step for reliable results every time. Try it this week, leave a comment or review, and subscribe for more recipes.
Table of Contents
FAQs
1) Can I use chicken breasts instead of a whole chicken?
Yes, but you’ll lose the classic rotisserie texture. Use a dry rub and roast at 400°F (205°C) until 165°F (74°C), then rest 5–10 minutes.
2) Do I need a rotisserie machine?
No. A regular oven and rack setup works great. The key is hot airflow, seasoning, and proper internal temperature.
3) How do I keep the breast from drying out?
Start with high heat, don’t overcook, and always rest before slicing. A thermometer makes this almost foolproof.
4) Can I make it ahead of time?
Yes. Roast the chicken, cool slightly, then refrigerate. Reheat gently with broth or pan drippings to keep it juicy.
5) How long does cooked chicken last in the fridge?
Up to 4 days in an airtight container. Store with juices if possible to keep flavor and moisture.
6) What’s the best seasoning for rotisserie flavor?
Paprika, garlic powder, onion powder, salt, pepper, and herbs. Adding a little baking powder can improve crispiness.
7) Why isn’t my skin crispy?
Usually the chicken wasn’t dried well, the oven ran cool, or the pan was overcrowded. Pat dry, roast hot first, and use a rack.
8) Can I freeze leftovers?
Yes. Freeze in portions for up to 3 months. Thaw overnight in the fridge and reheat gently for the best texture.